Build Your Own Deepseek Web App from Scratch using Deepseek R1 on Ubuntu 24: A Step-by-Step Guide
Want to create a custom ChatGPT-like application? In this guide, we’ll walk you through building an AI-powered chatbot from the ground up using Deepseek R1 on Ubuntu 24. Learn how to set up, customize, and deploy your own conversational AI with practical code examples and troubleshooting tips.
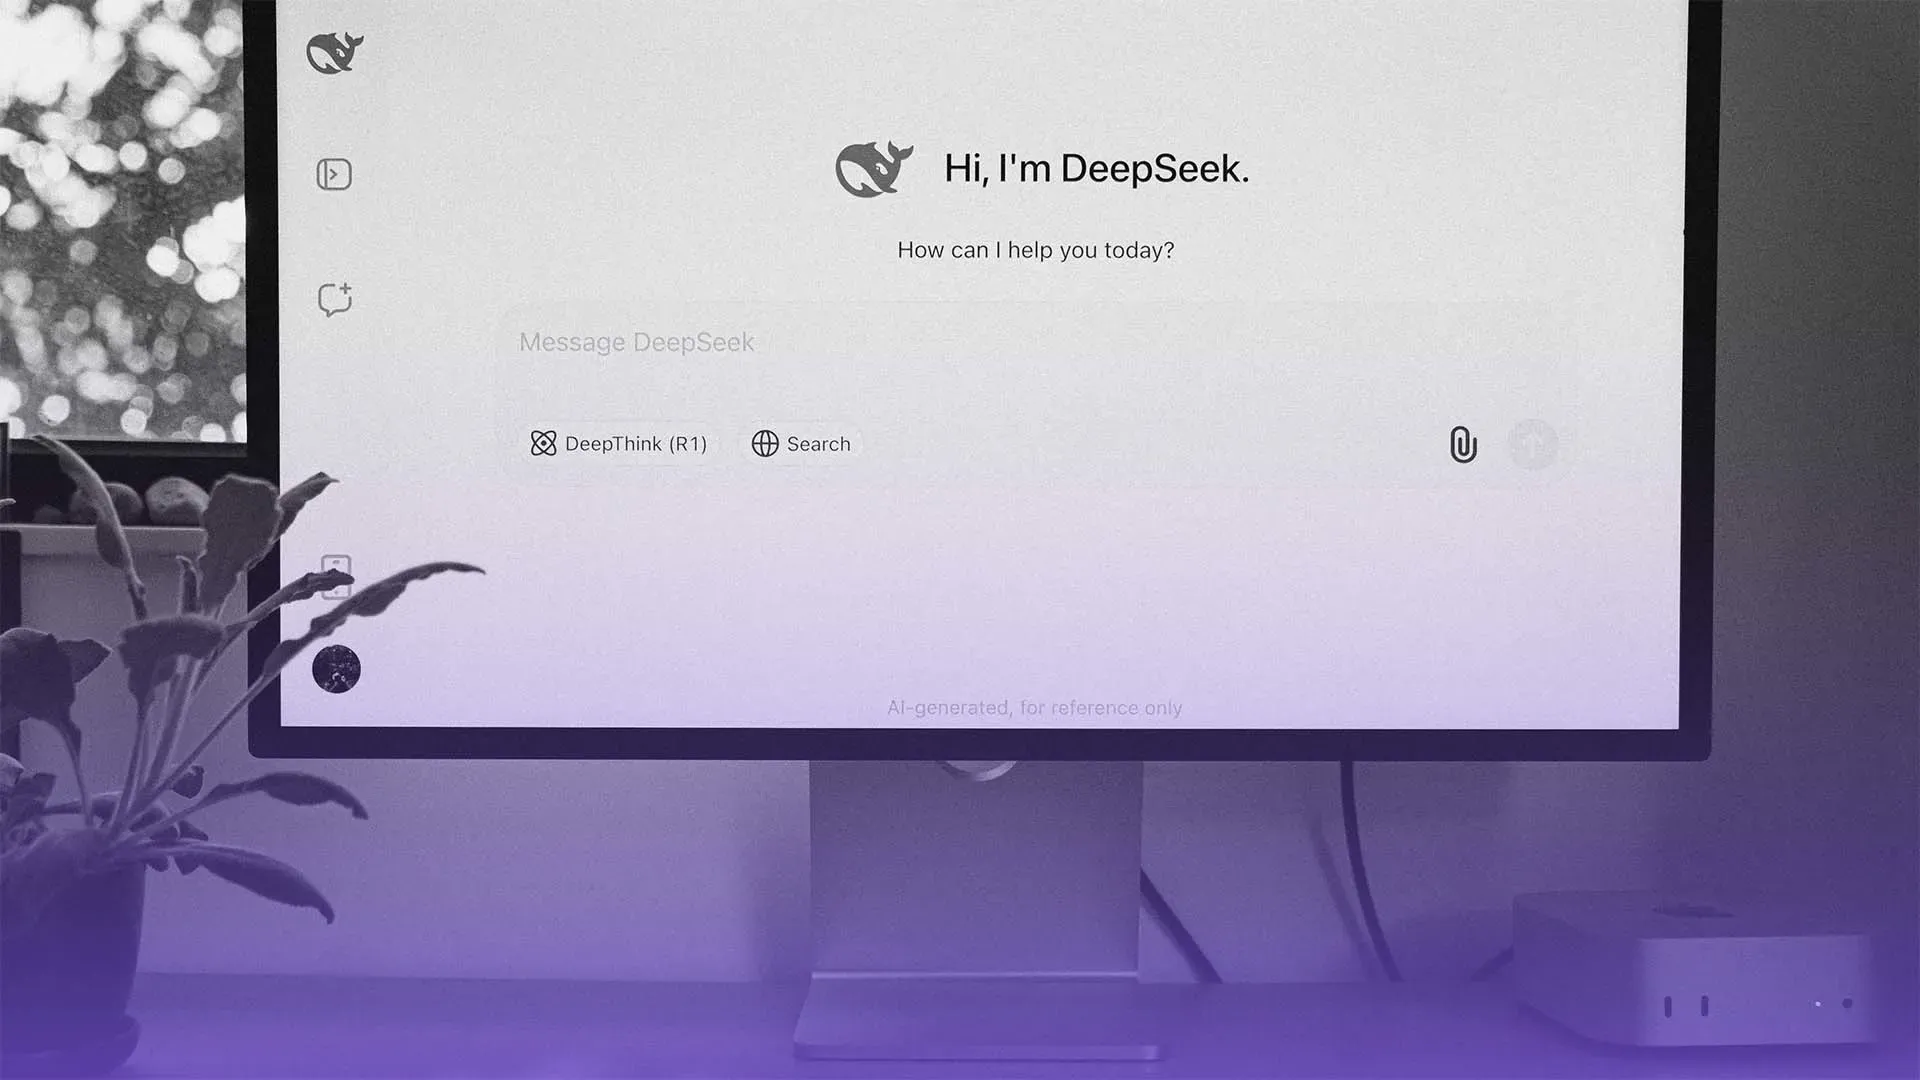
Creating a custom ChatGPT-like application can be an exciting project for developers and AI enthusiasts alike. This guide will walk you through the process of building an AI-powered chatbot using Deepseek R1 on Ubuntu 24, with a React frontend and deployment on Vercel. We will use a Node.js backend, but Python can also be an option if preferred.
Prerequisites
Before you begin, ensure your system meets the following requirements:
- Operating System: Ubuntu 22.04 or later
- Hardware:
- CPU: Multi-core processor (Quad-core or higher recommended)
- RAM: Minimum of 16 GB (32 GB recommended)
- GPU: NVIDIA GPU with CUDA support (optional but recommended for performance)
- Software:
- Python 3.8 or later
- Git
- Node.js (version 14 or higher)
Step 1: Update Your System
Open a terminal and update your package list
sudo apt update && sudo apt upgrade -yStep 2: Install Ollama
Ollama is a tool that simplifies running AI models locally. To install it, run
curl -fsSL https://ollama.com/install.sh | shStep 3: Download and Run DeepSeek R1
To download and run the DeepSeek R1 model, execute the following command:
ollama run deepseek-r1:7b- 1.5b: Minimal resource usage (~2.3GB)
- 7b: Balanced performance (~4.7GB)
- 70b: High performance (requires significant resources)
To list all installed models, use
ollama listStep 4: Set Up Node.js Backend
- Install Node.js and npm if you haven't already
sudo apt install nodejs npm -y - Create a new directory for your backend:
- Initialize a new Node.js project
npm init -y - Install necessary packages
npm install express body-parser cors axios dotenv - Create an
index.jsfile for your Express server
const express = require('express');
const bodyParser = require('body-parser');
const cors = require('cors');

const app = express();
app.use(cors());
app.use(bodyParser.json());

app.post('/api/chat', async (req, res) => {
    const userMessage = req.body.message;
    // Logic to interact with DeepSeek R1 goes here.
    // Example placeholder response:
    res.json({ response: `You said: ${userMessage}` });
});

const PORT = process.env.PORT || 5000;
app.listen(PORT, () => {
    console.log(`Server is running on port ${PORT}`);
});
- Start your server:
node index.js
Step 5: Communicate with DeepSeek R1
To connect your Node.js server with DeepSeek R1, you will need to implement the logic in the /api/chat endpoint. This typically involves sending the user's message to DeepSeek and receiving a response.Here’s an example of how you might implement this using Axios to make requests to Ollama
const axios = require('axios');

app.post('/api/chat', async (req, res) => {
    const userMessage = req.body.message;

    try {
        const response = await axios.post('http://localhost:8000/deepseek', { prompt: userMessage });
        res.json({ response: response.data });
    } catch (error) {
        console.error(error);
        res.status(500).json({ error: 'Failed to communicate with DeepSeek R1' });
    }
});
Step 6: Testing Your Setup
You can test your setup using tools like Postman or curl. Send a POST request to http://localhost:5000/api/chat with a JSON body containing a message
{
    "message": "Hello, how are you?"
}
You should receive a response from your Node.js server, which in turn communicates with DeepSeek R1.
Step 7: Set Up React Frontend
- In your project directory, create a React app
npx create-react-app frontend && cd frontend - Install Axios for making API requests
npm install axios - Create a simple chat interface in
src/App.js
import React, { useState } from 'react';
import axios from 'axios';

function App() {
    const [input, setInput] = useState('');
    const [messages, setMessages] = useState([]);

    const sendMessage = async () => {
        const response = await axios.post('http://localhost:5000/api/chat', { message: input });
        setMessages([...messages, { text: input, sender: 'user' }, { text: response.data, sender: 'bot' }]);
        setInput('');
    };

    return (
        <div>
            <h1>Chat with Deepseek R1</h1>
            <div>
                {messages.map((msg, index) => (
                    <div key={index} className={msg.sender}>
                        {msg.text}
                    </div>
                ))}
            </div>
            <input value={input} onChange={(e) => setInput(e.target.value)} />
            <button onClick={sendMessage}>Send</button>
        </div>
    );
}

export default App;
- Start your React development server
npm startStep 7: Deploying Frontend on Vercel
- Install Vercel CLI globally if you haven't already:
npm install -g vercel- In your frontend directory, run Vercel to deploy
vercel- Follow the prompts to complete the deployment process.
Step 8: Configure Backend and frontend domain
To configure your backend server's domain and IP so that your Vercel-deployed React application can communicate with it, follow these steps:
- Obtain a Domain Name: If you don't already have a domain, purchase one from a domain registrar.
- Set Up DNS Records: Access your domain registrar's DNS management panel. Create an A record pointing to the public IP address of your backend server. For example:If you prefer to use a subdomain for your API, ensure that the A record reflects this subdomain.
- Type:
A - Host:
api.yourdomain.com - Value:
<Your_Server_IP_Address>
- Type:
- Configure Your Backend Server: Ensure that your backend server is configured to accept requests from the domain you've set up. This may involve updating CORS settings in your Node.js application to allow requests from your Vercel app's domain.
- Update React Code: In your React application, replace any instances of
localhostwith the new domain you've configured (e.g.,https://api.yourdomain.com). This ensures that API calls from your frontend are directed to the correct server. - Test the Configuration: After DNS propagation (which may take a few minutes), test the connection by making API requests from your Vercel app to the backend server using the new domain. Ensure that everything is functioning as expected.
Following these steps, you will successfully configure your backend server to communicate with your Vercel-deployed application using a custom domain.
Conclusion
You have successfully built and deployed your own ChatGPT-like application using Deepseek R1 on Ubuntu 24 with a React frontend and Node.js backend! This guide provided a comprehensive overview of each step involved in setting up your environment, building your application, and deploying it online. Explore further enhancements like adding user authentication or integrating more advanced features to improve your chatbot's functionality!
Commonly Asked questions
How can I ensure my Vercel app communicates with my backend server?
To enable communication between your Vercel app and your backend server, configure your backend to accept requests from the domain where your Vercel app is hosted. Update your API calls in the React code to use the public domain or IP address of your backend instead of localhost.
What should I do if my React app cannot connect to the backend after deployment?
If you encounter connection issues after deploying your React app, check the following:
- Ensure that CORS is properly configured on your backend server.
- Verify that the API endpoint URLs in your React code are correct.
- Check for any firewall or security group settings that might block incoming requests to your server.
Can I run DeepSeek R1 without a GPU?
Yes, you can run DeepSeek R1 without a GPU; however, performance may be significantly slower compared to running it on a machine with a compatible NVIDIA GPU. For optimal performance, especially with larger models, a GPU is recommended.